How to Roast a Juicy Holiday Turkey: 5 Simple Tips
Still Need a Roasting Pan for Your Holiday Turkey? 🦃
Take a look at the Camerons 3-in-1 Stainless Steel Multi Roaster. Its removable rack keeps your turkey elevated above the drippings and can support your roast while it rests.
Explore the Camerons Roaster on Amazon (paid link)
As an Amazon Associate I earn from qualifying purchases.
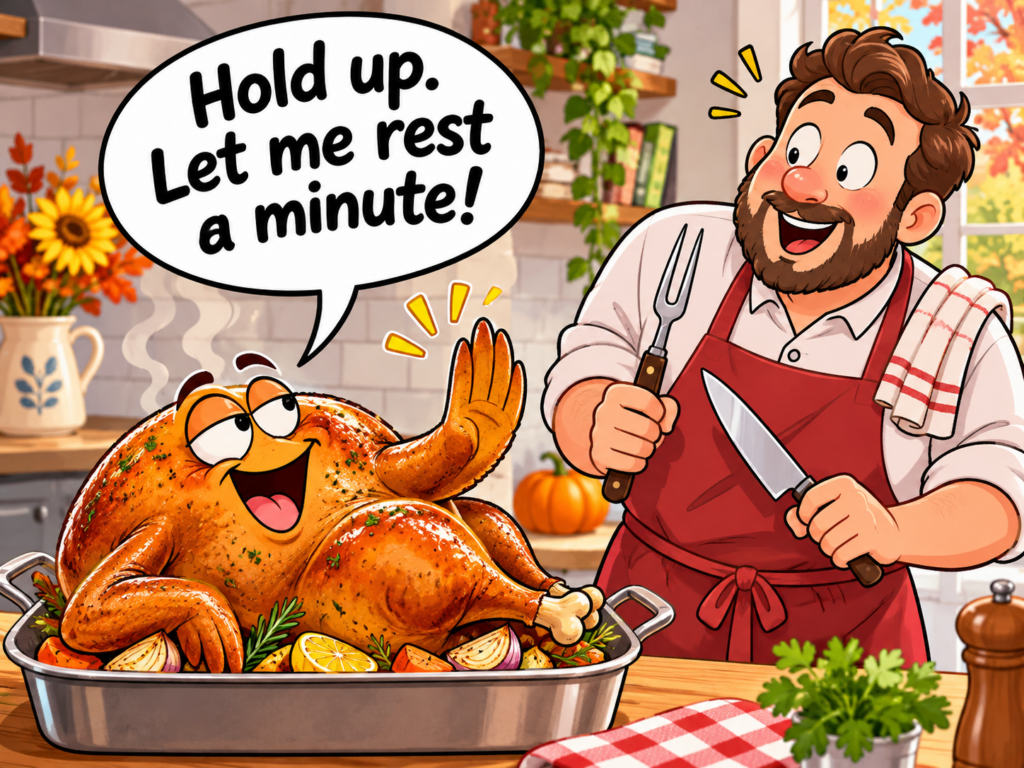
You’ve seasoned your turkey, watched it turn a beautiful golden brown, and filled the kitchen with delicious holiday aromas. Now everyone’s hungry, and you’re reaching for the carving knife.
But wait! Your turkey has something to say:
“Hold up! Let me rest a minute!” 🦃
Funny as that sounds, your bird has a point!
From using a roasting rack to checking the right temperature and allowing your bird to rest, a few simple cooking habits can help you prepare a flavorful holiday dinner without unnecessary stress.
Here are five practical tips to help you roast a delicious holiday turkey—and enjoy the celebration yourself!
1. Thaw Your Turkey Safely
A juicy holiday turkey starts with good preparation.
If you’re cooking a frozen turkey, plan ahead! The USDA recommends allowing approximately 24 hours of refrigerator thawing time for every 4–5 pounds of turkey.
Keep the turkey wrapped, place it on a tray or in a container to catch any drips, and thaw it in the refrigerator—not on the kitchen counter.
For example, a 12–16-pound turkey generally needs about 3–4 days to thaw in the refrigerator.
And here’s a helpful bonus: Once fully thawed in the refrigerator, your turkey can remain refrigerated for another 1–2 days before cooking.
CookwareTalk Tip: Check your turkey’s weight several days before the holiday. Nobody wants to discover a frozen-solid bird on Thanksgiving morning!
2. Give Your Turkey a Lift!
Want beautifully browned turkey skin and flavorful drippings for your gravy? Give your bird a little lift!
A roasting rack raises the turkey above the bottom of the pan, allowing hot oven air to circulate underneath and around more of the bird. It also keeps the turkey from sitting directly in the collected fat and juices.
And speaking of those juices, don’t throw them away! Those delicious drippings can become the foundation for homemade turkey gravy.
A Clever Roasting Rack Worth a Look
One interesting option is the Camerons 3-in-1 Stainless Steel Multi Roaster.
What caught our attention is its removable roasting rack. After cooking, the rack can be positioned along the rim of the pan, allowing the roast to rest above the collected drippings.
The roaster also features a multipurpose lid that doubles as a separate cooking or serving dish. It’s designed for oven use and compatible induction cooktops, making it useful beyond the holidays.
Explore the Camerons 3-in-1 Roaster on Amazon (paid link)
As an Amazon Associate I earn from qualifying purchases. CookwareTalk has not independently tested this product.
CookwareTalk Tip: Before buying a roasting pan, check its interior dimensions, your oven space, and whether the rack will safely support the size of your turkey.
3. Check That Temperature!
Don’t let that beautiful golden-brown skin fool you! A turkey can look perfectly cooked on the outside while still needing more time in the oven.
The safest way to know your turkey is ready is to use a reliable food thermometer.
According to the USDA, turkey should reach a minimum internal temperature of 165°F (74°C).
Check the temperature in three places:
- The thickest part of the breast
- The innermost part of the thigh
- The innermost part of the wing
Avoid touching bone with the thermometer probe, since that can affect the reading.
If you’ve stuffed your turkey, the center of the stuffing must also reach 165°F.
CookwareTalk Tip: Don’t rely on cooking time or a pop-up timer alone. A food thermometer takes the guesswork out of knowing when your bird is safely cooked.
4. Let That Bird Rest!
Hold up! Don’t grab that carving knife just yet! 🦃
You’ve spent hours preparing your holiday turkey. Now give your bird a little break before everyone digs in.
The CDC recommends allowing a properly cooked turkey to rest for about 20 minutes before carving.
Why?
As meat cooks, heat causes changes in its muscle proteins and moisture. Cutting into very hot meat immediately can allow additional juices to escape onto your carving board.
Giving your turkey time to rest can reduce some of that moisture loss and make carving easier.
And remember that clever roasting rack we mentioned earlier? The Camerons roaster has a rack designed to rest along the pan’s rim, allowing excess drippings to drain below while your roast takes its well-deserved break.
Just make sure the rack is securely positioned before supporting a heavy roast.
CookwareTalk Tip: Use those 20 minutes to finish your gravy, warm the dinner rolls, or gather everyone around the table.
After all, the cook deserves a break, too!
5. Carve With Care!
Your turkey is cooked, rested, and ready for the dinner table. Now comes the final step: carving!
Start with a sharp carving knife and a sturdy cutting board that won’t slide around.
Remove the legs and wings, then carefully separate the breast meat from the bone.
For tender, easy-to-eat slices, cut the breast meat against the grain.
Take your time. There’s no need to rush after all the work you’ve put into preparing that beautiful holiday meal.
And don’t forget to save the leftovers! Refrigerate perishable leftovers within two hours, using shallow containers so they cool quickly.
CookwareTalk Tip: Save that flavorful turkey meat for sandwiches, soups, or another delicious meal.
One Last Thought From CookwareTalk
A little planning, a reliable thermometer, a suitable roasting rack, and a few minutes of patience can make holiday cooking a whole lot easier.
And remember:
The cook deserves a break, and so does the turkey! 🦃❤️
Leave a Reply